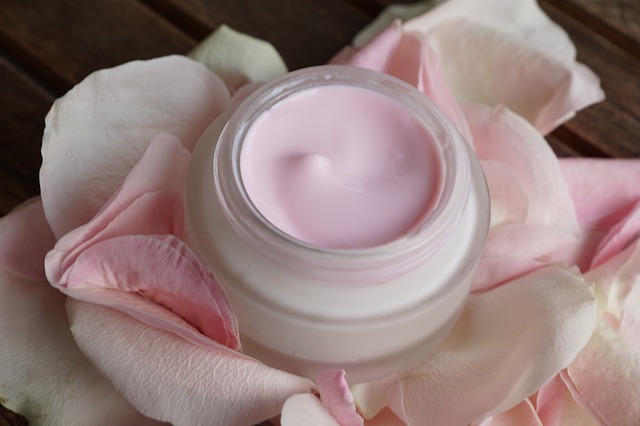
Manicures 101
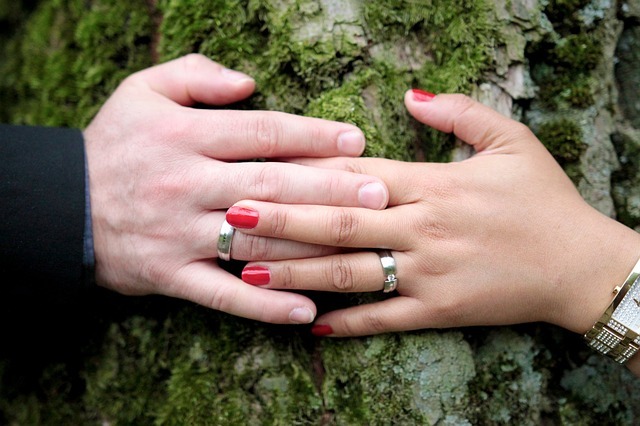
After you get engaged, there is suddenly a constant focal point on your person - that sparkly new ring and the hand that wears it! Even the least self conscious of us may suddenly be very aware of the state of your hands and finger nails. But good news! Your hands can be beautifully cleaned, buffed and polished for the wedding planning journey and all that bling gazing in just a few simple steps. These tips can be used on both men and women for the ultimate DIY manicure.
YOU'LL NEED:
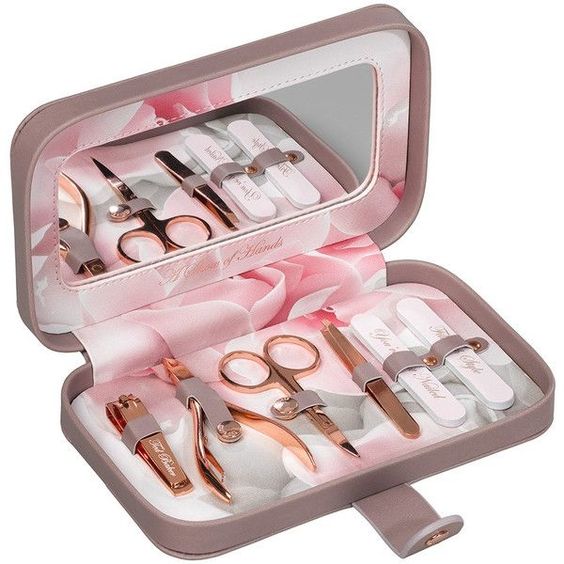
A cuticle tool (or orangewood stick), cuticle oil, a nail file, nail scissors or clippers, nail polish remover (ideally acetone free), some cotton wool balls and a nail buffer if you're going all out!
STEP 1: SCRUB HANDS AND CLEAN NAILS
Up until recently it was always recommended to soak hands and nails in warm water for a few minutes to soften skin and get manicure ready. Recent advice however, says to avoid this step as the water can soak into the nail bed, expanding the nail and making it a less than ideal canvass for your coming nail art.
SO INSTEAD, SCRUB AND CLEAN YOUR NAILS. EASY!
STEP 2: PICK A SHAPE AND PROCEED
Choose a shape and trim accordingly. To choose that shape have a look at your cuticle bed. The most flattering nail shape for you follows the arc of your cuticle bed. This season it's more about shorter, cuter nails than excessively long. They should be about as long as the nail bed under them, or only slightly longer. But whatever the length you choose, follow the shape of those cuticles. So if you have nicely rounded cuticles, go for a gentle round of the nail, likewise, if your cuticle bed is closer to square, a little bit of angle is fine for the nails.
STEP 3: FILE AND SMOOTH
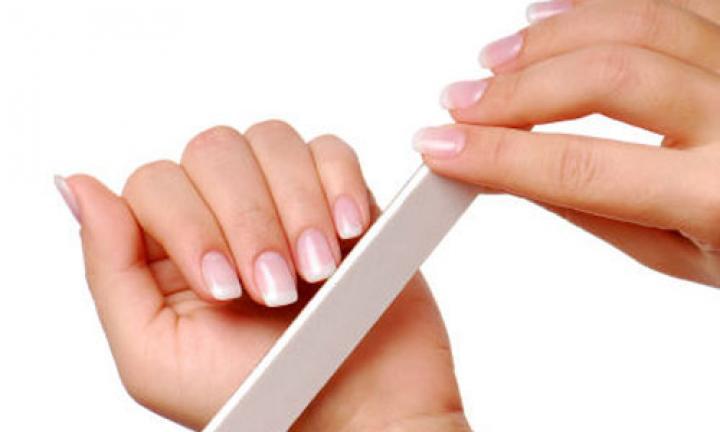
Try to avoid filing back and forth as this shreds the layers of the nail and can cause peeling nails. The best technique is even strokes in one direction.
Step 4: Cuticle Care
Gently push back the cuticles with your orangewood stick or cuticle pusher. It's best not to cut cuticles as they protect the nail bed from infection,. They also tend to become an ongoing problem. Once you start cutting your cuticles, you need to keep going. Pushing your cuticles back shouldn't hurt, if it does you're being too aggressive. If you find they are particularly stubborn, it's a good idea to get into the habit of gently pushing them back after a shower or bath as they will be nice and soft then. After they've been put in place, give them a massage with some good quality cuticle oil.
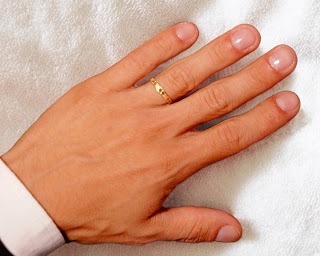
STEP 5: KEEP IT CLEAN
Give each nail a swipe of an acetone free nail polish remover to make sure they are nice and clear (stuck on finding a nice acetone free nail polish remover? There are a heap of essential oil based, water and soy based ones hitting the market. This has been since it's come to light just how bad acetone is for you. Sometimes tilers use acetone based nail polish remover to remove excess grime on the job site. Imagine putting that on your person? Yuck!) Acetone can not only leave a residue behind, but strips your nail of it's natural oils making breakage more common.
A more natural nail polish remover will take a bit more time but if you apply to a cotton wool ball and dab on each nail, then come back and start to wipe it will budge a bit easier.
STEP 6: KEEP IT BUFF
Using a buffing block, buff the entire nail surface with even strokes until they have a nice shine. This is nice if you don't want to bother with polish. Buffing also increases circulation in the nail bed, meaning it gives your nails a strength and growth boost!
STEP 7: MOISTURIZE
Give the whole hand including cuticles a good massage with a warm oil. Something like almond, olive (a nice light one) or a oil rich hand cream.
